
The Shield-Shop seeks out the highest quality materials for our products with playability and performance in mind. With over 3 decades of combined in-game experience, our artists and builders continually search for ways to make stronger, safer, gear. Our goal is to deliver modern build-tech with exceptional artistry, at affordable price points for every fighter.
Our Build Specs:
- All shields are built with 2.2 – 4lb foam cores for durability and longevity. We chose the higher density foam blanks because it provides similar rigidity to a cored shield, while still having the mobility and weight of a coreless.
- Each shield is edged in 1/3inch 4lb MC foam and 1inch 2lb. microcell Polyethylene foam, the same foam most builders use for weapon striking surfaces.
- Our products are designed to be used full-force without fear of injury to your opponent, yourself, or your gear.
- All strap shields have adjustable straps and can be used either righty or lefty (rounds), and on most arm sizes.
- Our punch shield cores are 1″ schedule 40 pvc pipe.
- Our strap shield strapping method is the method that PtQ introduced
The Process for making an Elite Plastidip shield:
**As our shop has grown our process has deviated slightly from the one below, but it is still a great one to follow for your own Do-It-Yourself Plastidip shield.**
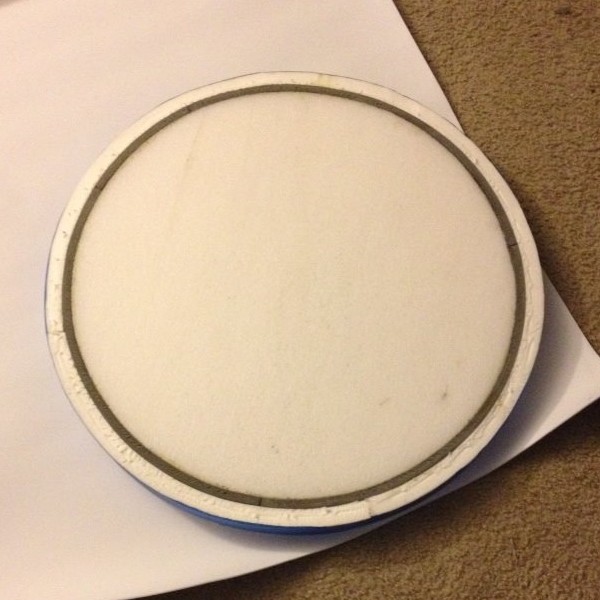
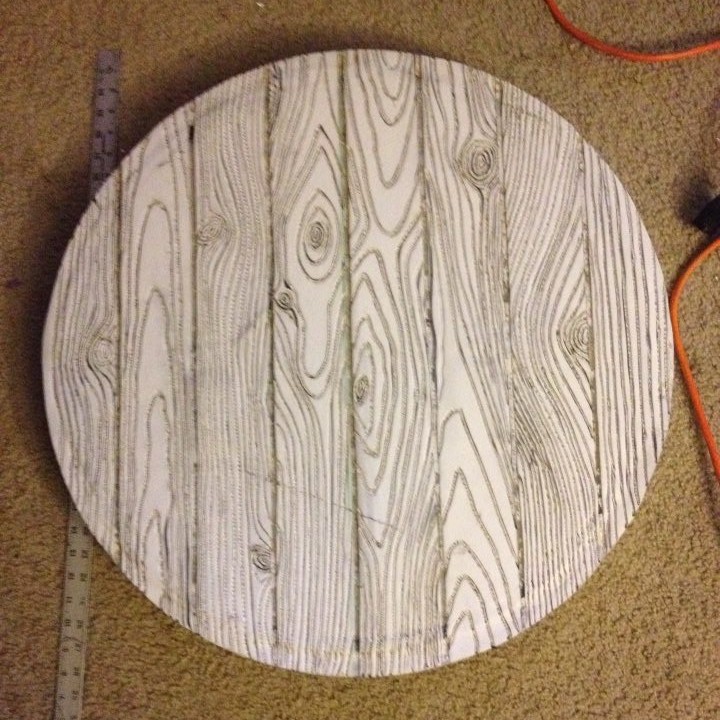
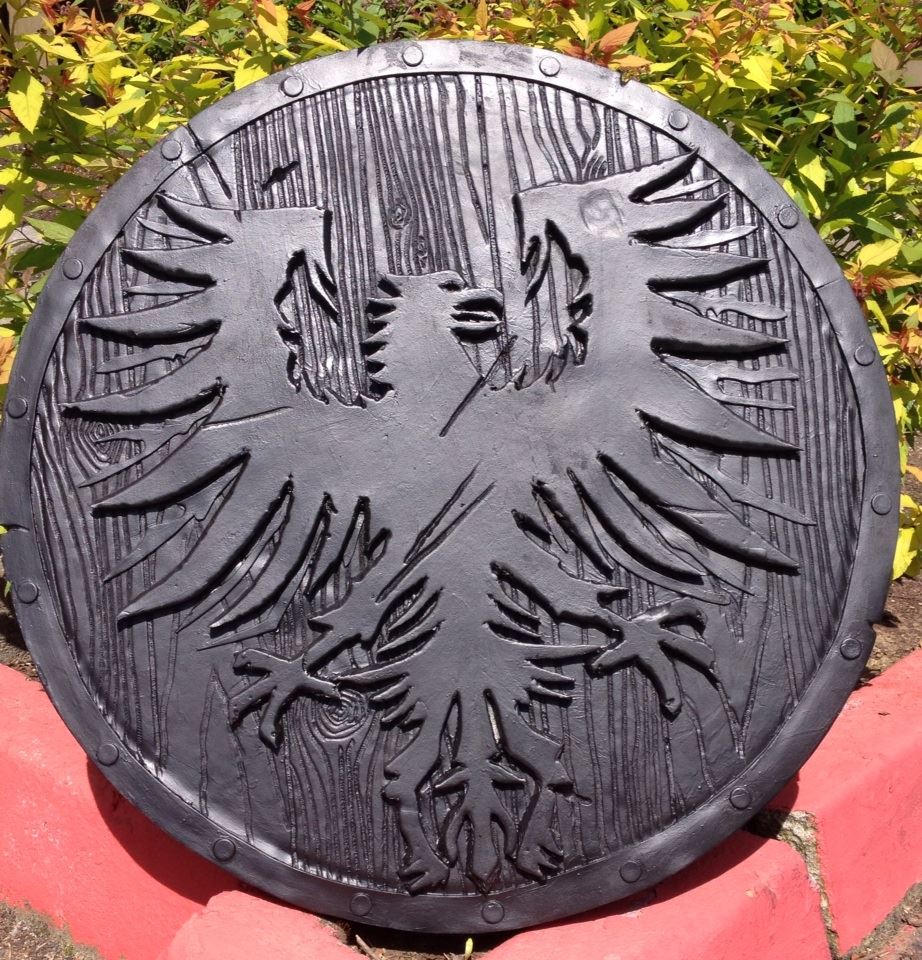
After finishing and strapping a shield blank, the shield is then skinned with 1/8″ craft foam (4lb. microcell), on both the front and the back of the shield. Depending on the client’s specifications, we either wood grain it, or leave it blank for a metal or stretched-leather finish. Wood graining can take anywhere from 3-6 hours depending on the size of the shield, and if the client wants both sides done. We accomplish the faux wood look by first looking at references (pine wood is a good one) and drawing it onto the shield with sharpie, then carving. For more on this please see our Resources page.

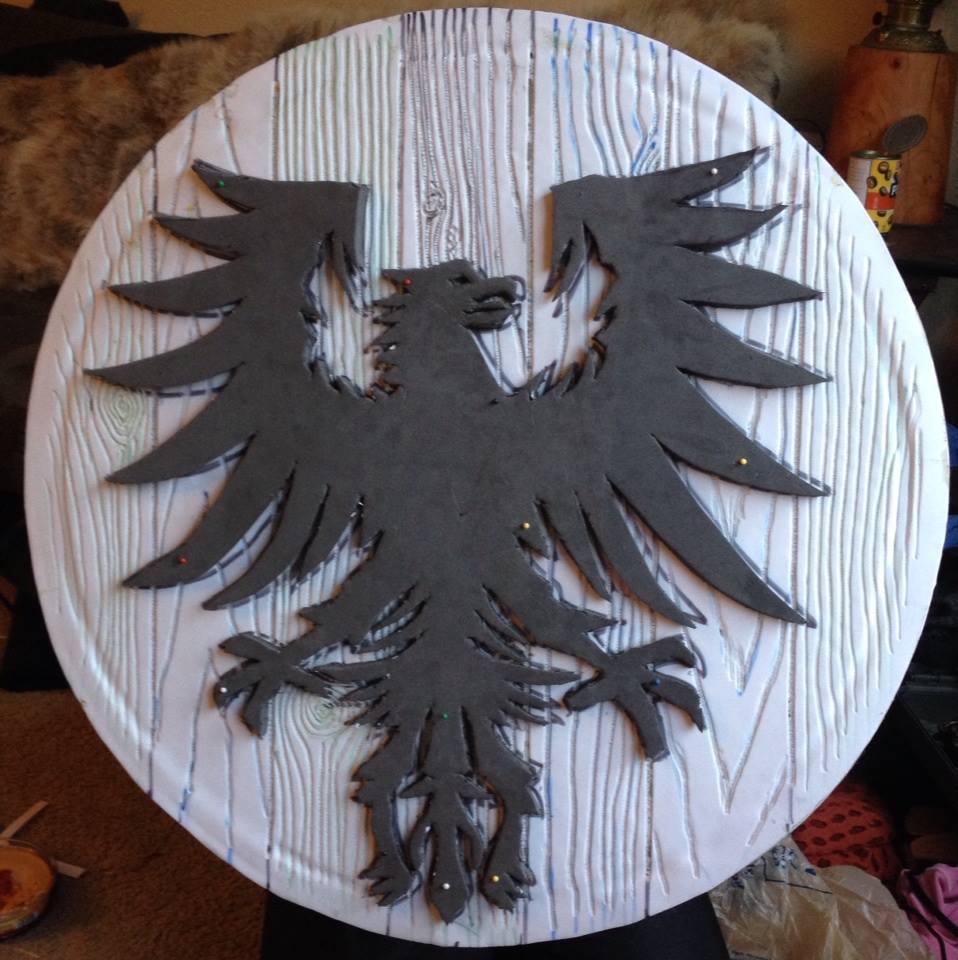
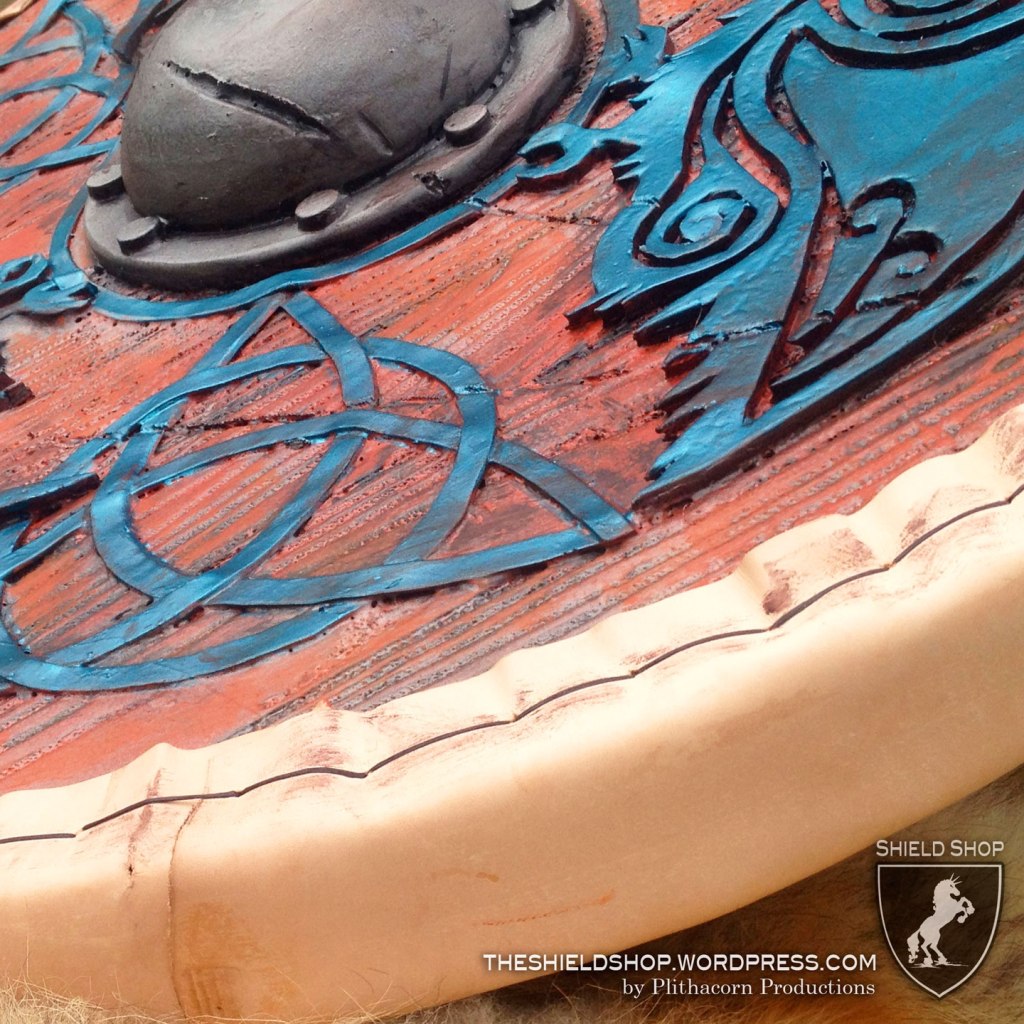
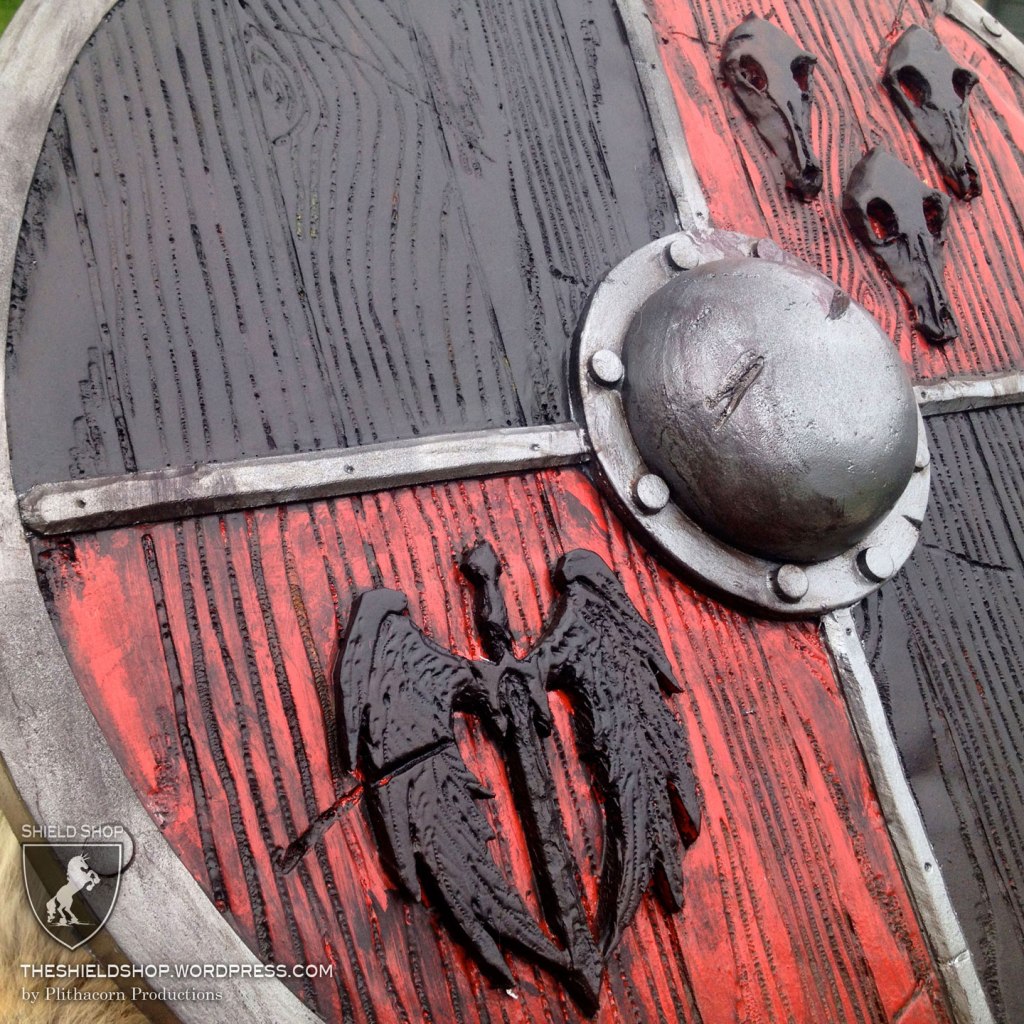
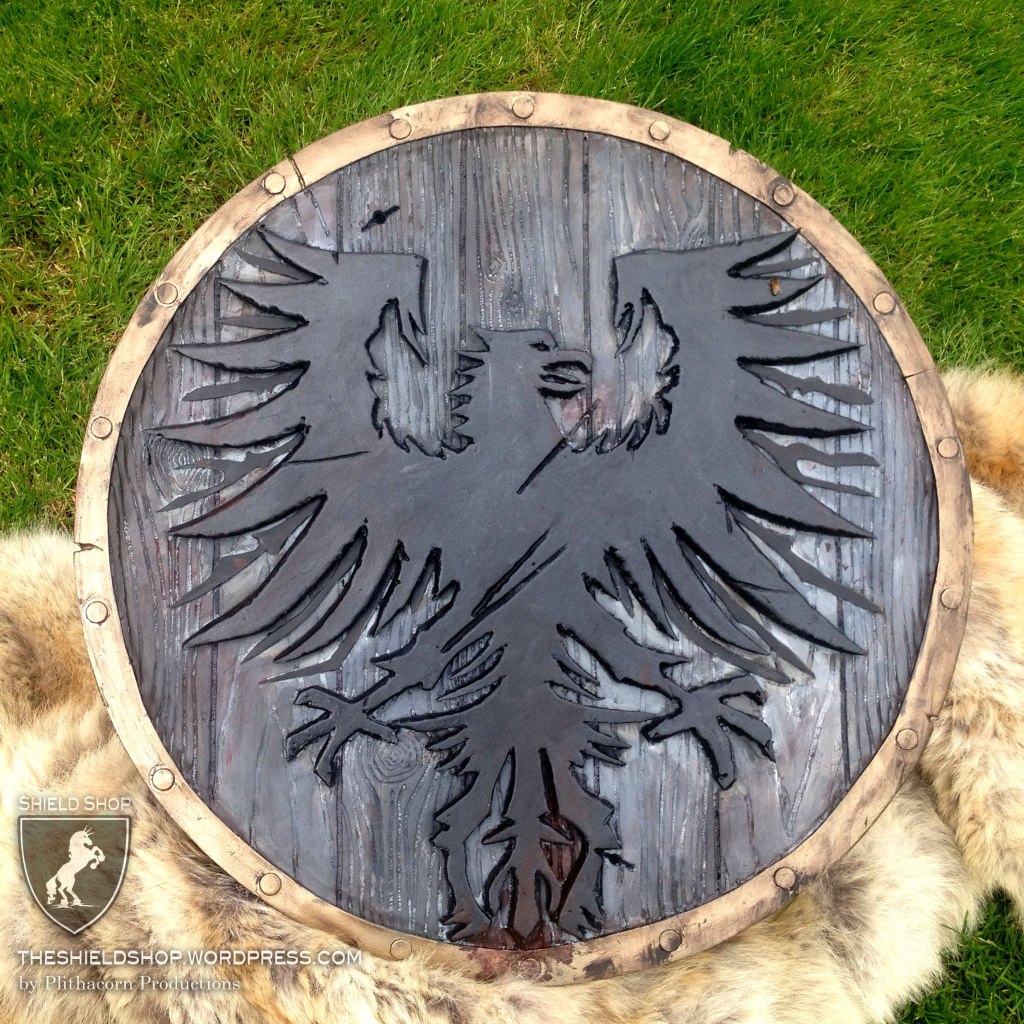
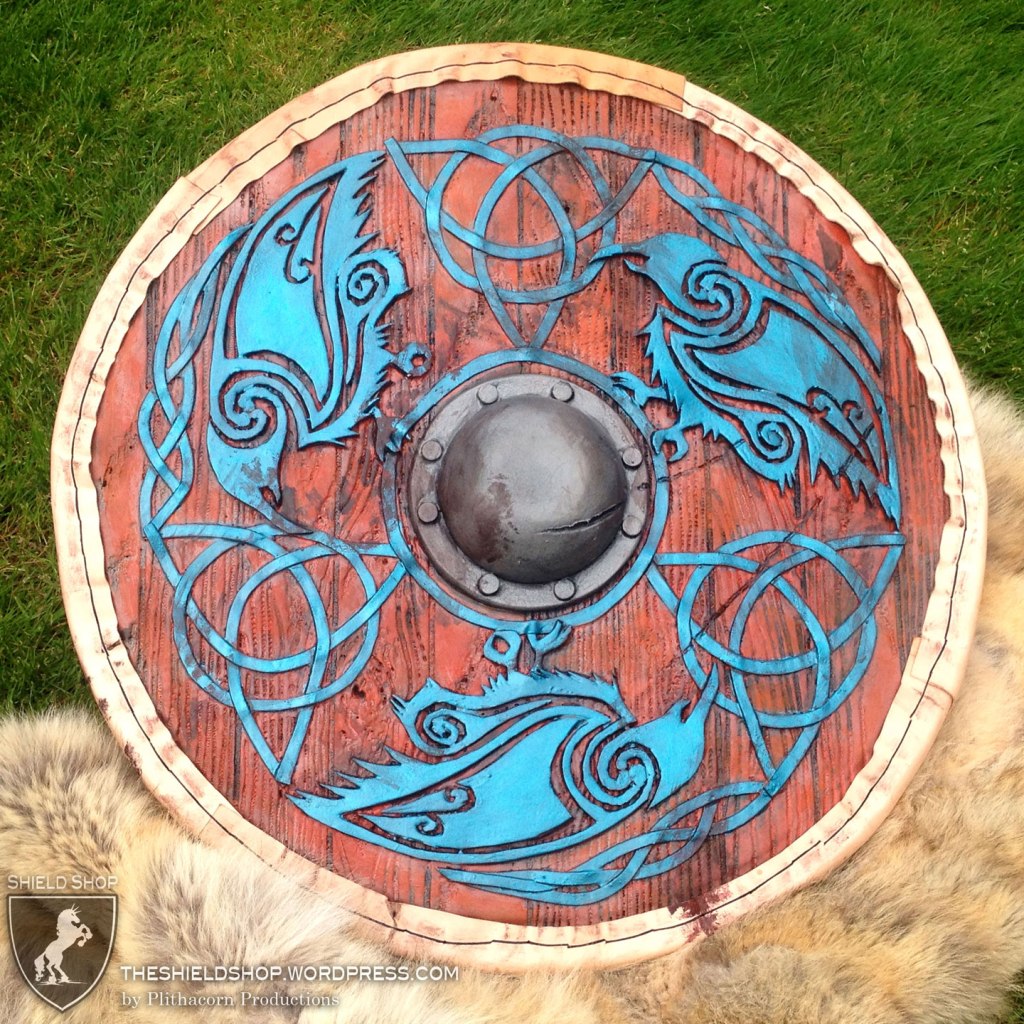
From here we start the foam detailing, including sculpture and adding a faux metal rim. This, and painting, is where the majority of our time is spent. More basic large cut outs can be finished in 3-6 hours. Complex knots and sculpture take 10-20 hours to make, per shield. Since our surface must be foam we use a combination of craft foam and 4lb microcell. The sculptures are then glued on with either Dap, or E-6000 glue (E6000 is used for knot-work as dap dries too fast. This also increases drying and application time.) Each piece is then pinned in place to dry for at least 24 hours before Plastidip.

Once the sculpture is finished and the edging has been added, we move onto the PlastiDip stage. Our shields need to stand up to full contact use, ideally over multiple years, so we need a durable, flexible finish, and a thorough coating of PlastiDip achieves this. We typically we use 2 spray-on cans and 1 paint-on can of PlastiDip on each shield. Once again this varies on the size of the shield, but the formula seems to hold up for shields from 24″ – 28″ in diameter. This process takes 4-6 hours with dry time. (NOTE: You should be wearing a respirator when using this product.)


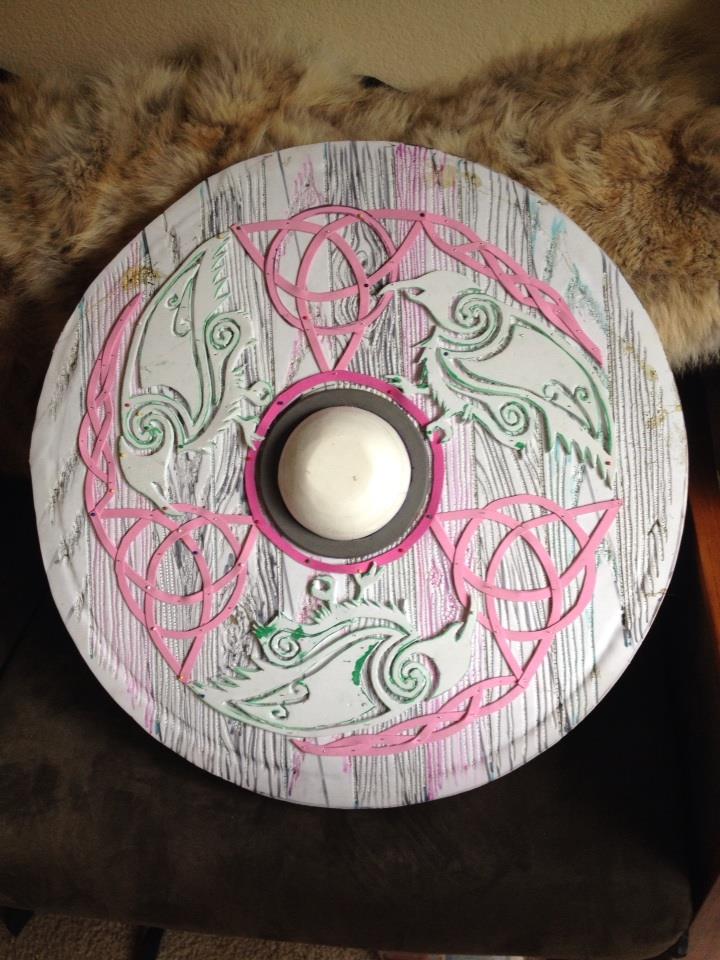
Once the PlastiDip is dry we lay down base coats before starting detail painting. Detailing is what brings out the layers. The paints we use are a combination of exterior/interior spray-paints and acrylics. We create the faux-finishes, such as wood, metal, and stone, by using set-painting techniques Shannon picked up doing theater and home remodels. Multiple “washes,” or layers, is the key to a believable finish, so each shield has anywhere from 5-10 passes for each color, in different textures and hues.

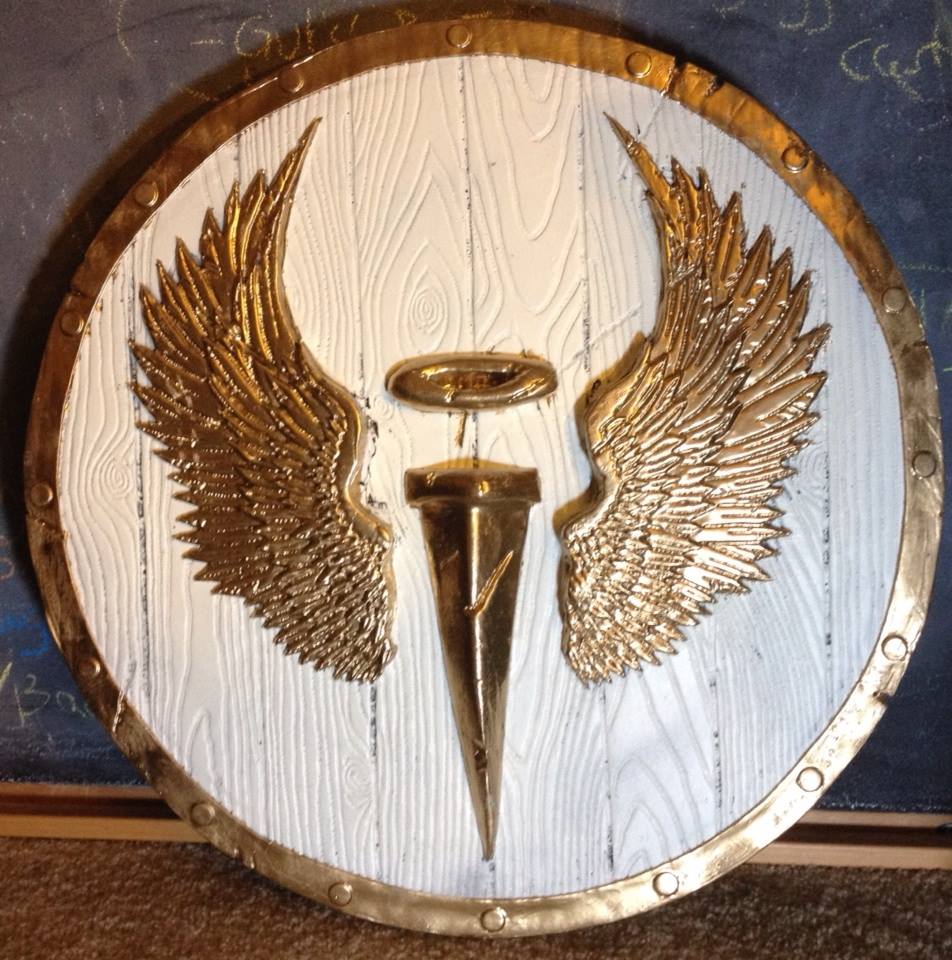

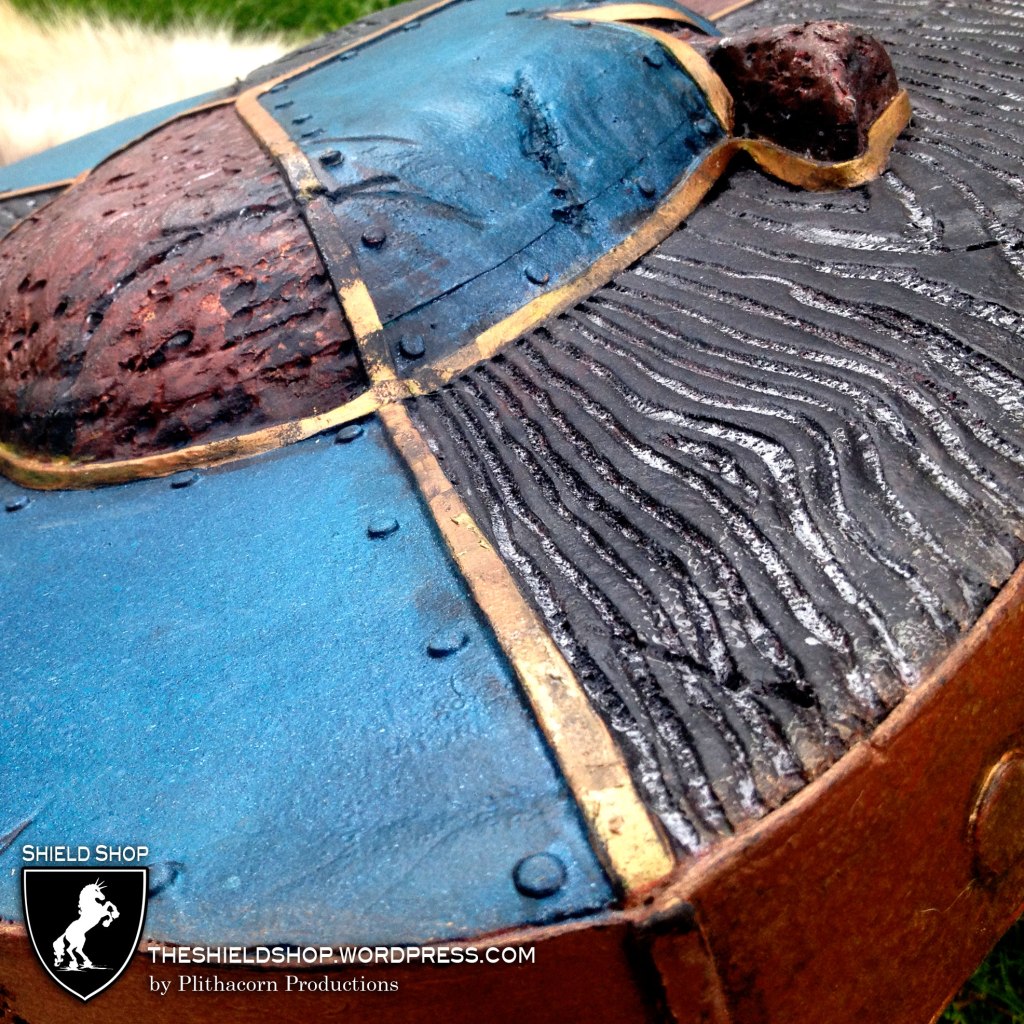
After all this is done it is sealed with a rubberized roof sealant (Through-The-Roof) to help protect the shields from weather. The final product, is this:

For more info on our process, please feel free to contact us, and visit our Resources page for more.
